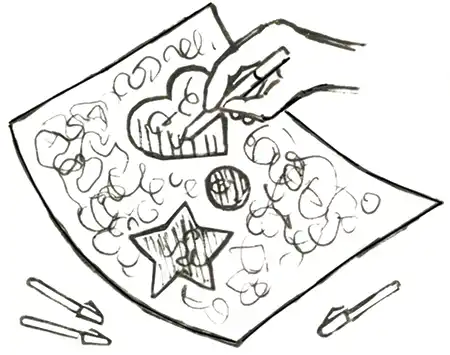
You will need:
- White paper
- Extra-Fine Sharpie marker
- Gel Pens or markers
- Various cookie cutter shapes
This is a great project for kids that may be uncomfortable with drawing because it’s all about loose scribbling
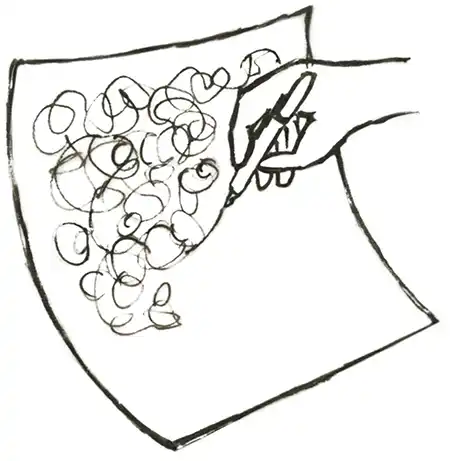
1. . First, with an Extra-Fine Sharpie marker procede to make random scribbles all over the paper. This may take some time. Two things to remember while scribbling are to make sure to create open spaces that may be colored later and try to be consistent in the Scribble marks, so it will look universal throughout the paper.
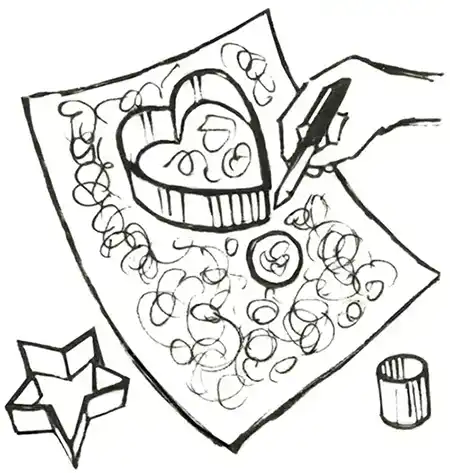
2. Trace various outlines of Cookie cutter patterns on top of the scribbles. Cookie cutter patterns can overlap each other as well. You many want to use a heavier Sharpie marker to trace the shapes of the cookie cutters. Fill up the paper with as many cookie cutter shapes as you need.
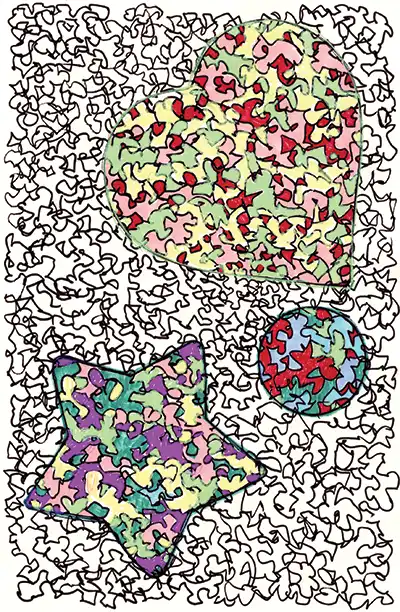
3. Color the individual spaces inside each of the cookie cutter designs. A palette of 3-6 colors for each design works very well. Maybe the colors are all warm or all cool colors. Or maybe they are all analagous colors? Be thoughtful in your choice of colors. If the designs overlap, that intersecting section might be a completely different set of colors.This project highlights line, shape, color and space elements!